
If it isn’t obvious this is a pet website and of course we really love our pets here! We really encourage LOTS of pictures and stories about how you play and live with your pet (remember “Live in the moment!”). Today we are going to show you how to make a wonderful picture frame that’s perfect for all those photos you have of your “best friend”!
We went to Michael’s to get started (but feel free to head to your favorite craft store). We quickly found just the right wooden picture frame and all the needed paints and patterns in the Martha Stewart collection. The materials look like this:
1) Wooden picture frame
2) Sandpaper to smooth out the frame
3) Paint
4) Multi-pattern paper
5) Letters
6) Decoupage
Your first step is to take the picture frame and sand it until smooth. We don’t want any rough edges or splinters!
After sanding take a medium brush and paint the wood. It is important to apply at least three coats so that you have fully covered the wood and created a very smooth and professional looking finish. You could also spray paint on a finish but we liked using the Martha Stewart paints. Let dry over night.
We sanded the frame again at this point just to ensure we have a nice look. After sanding apply another coat of paint. We really like the Martha Stewart color “Surf”. It is a soothing color and goes really well with our Molly’s coat!
After you feel good about the paint and look of the frame you can start the creative (and fun) part of the project. Using our scrapbook paper and hole punches, we created different size circles and designs for the frame. Cutting some of them to align with the frame gives a nice touch to the look. We also found a custom hole punch that create some neat doggy footprints. Placing all this on the frame really added to the look!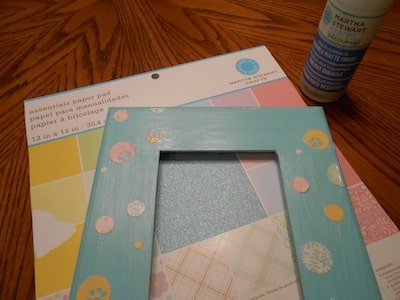
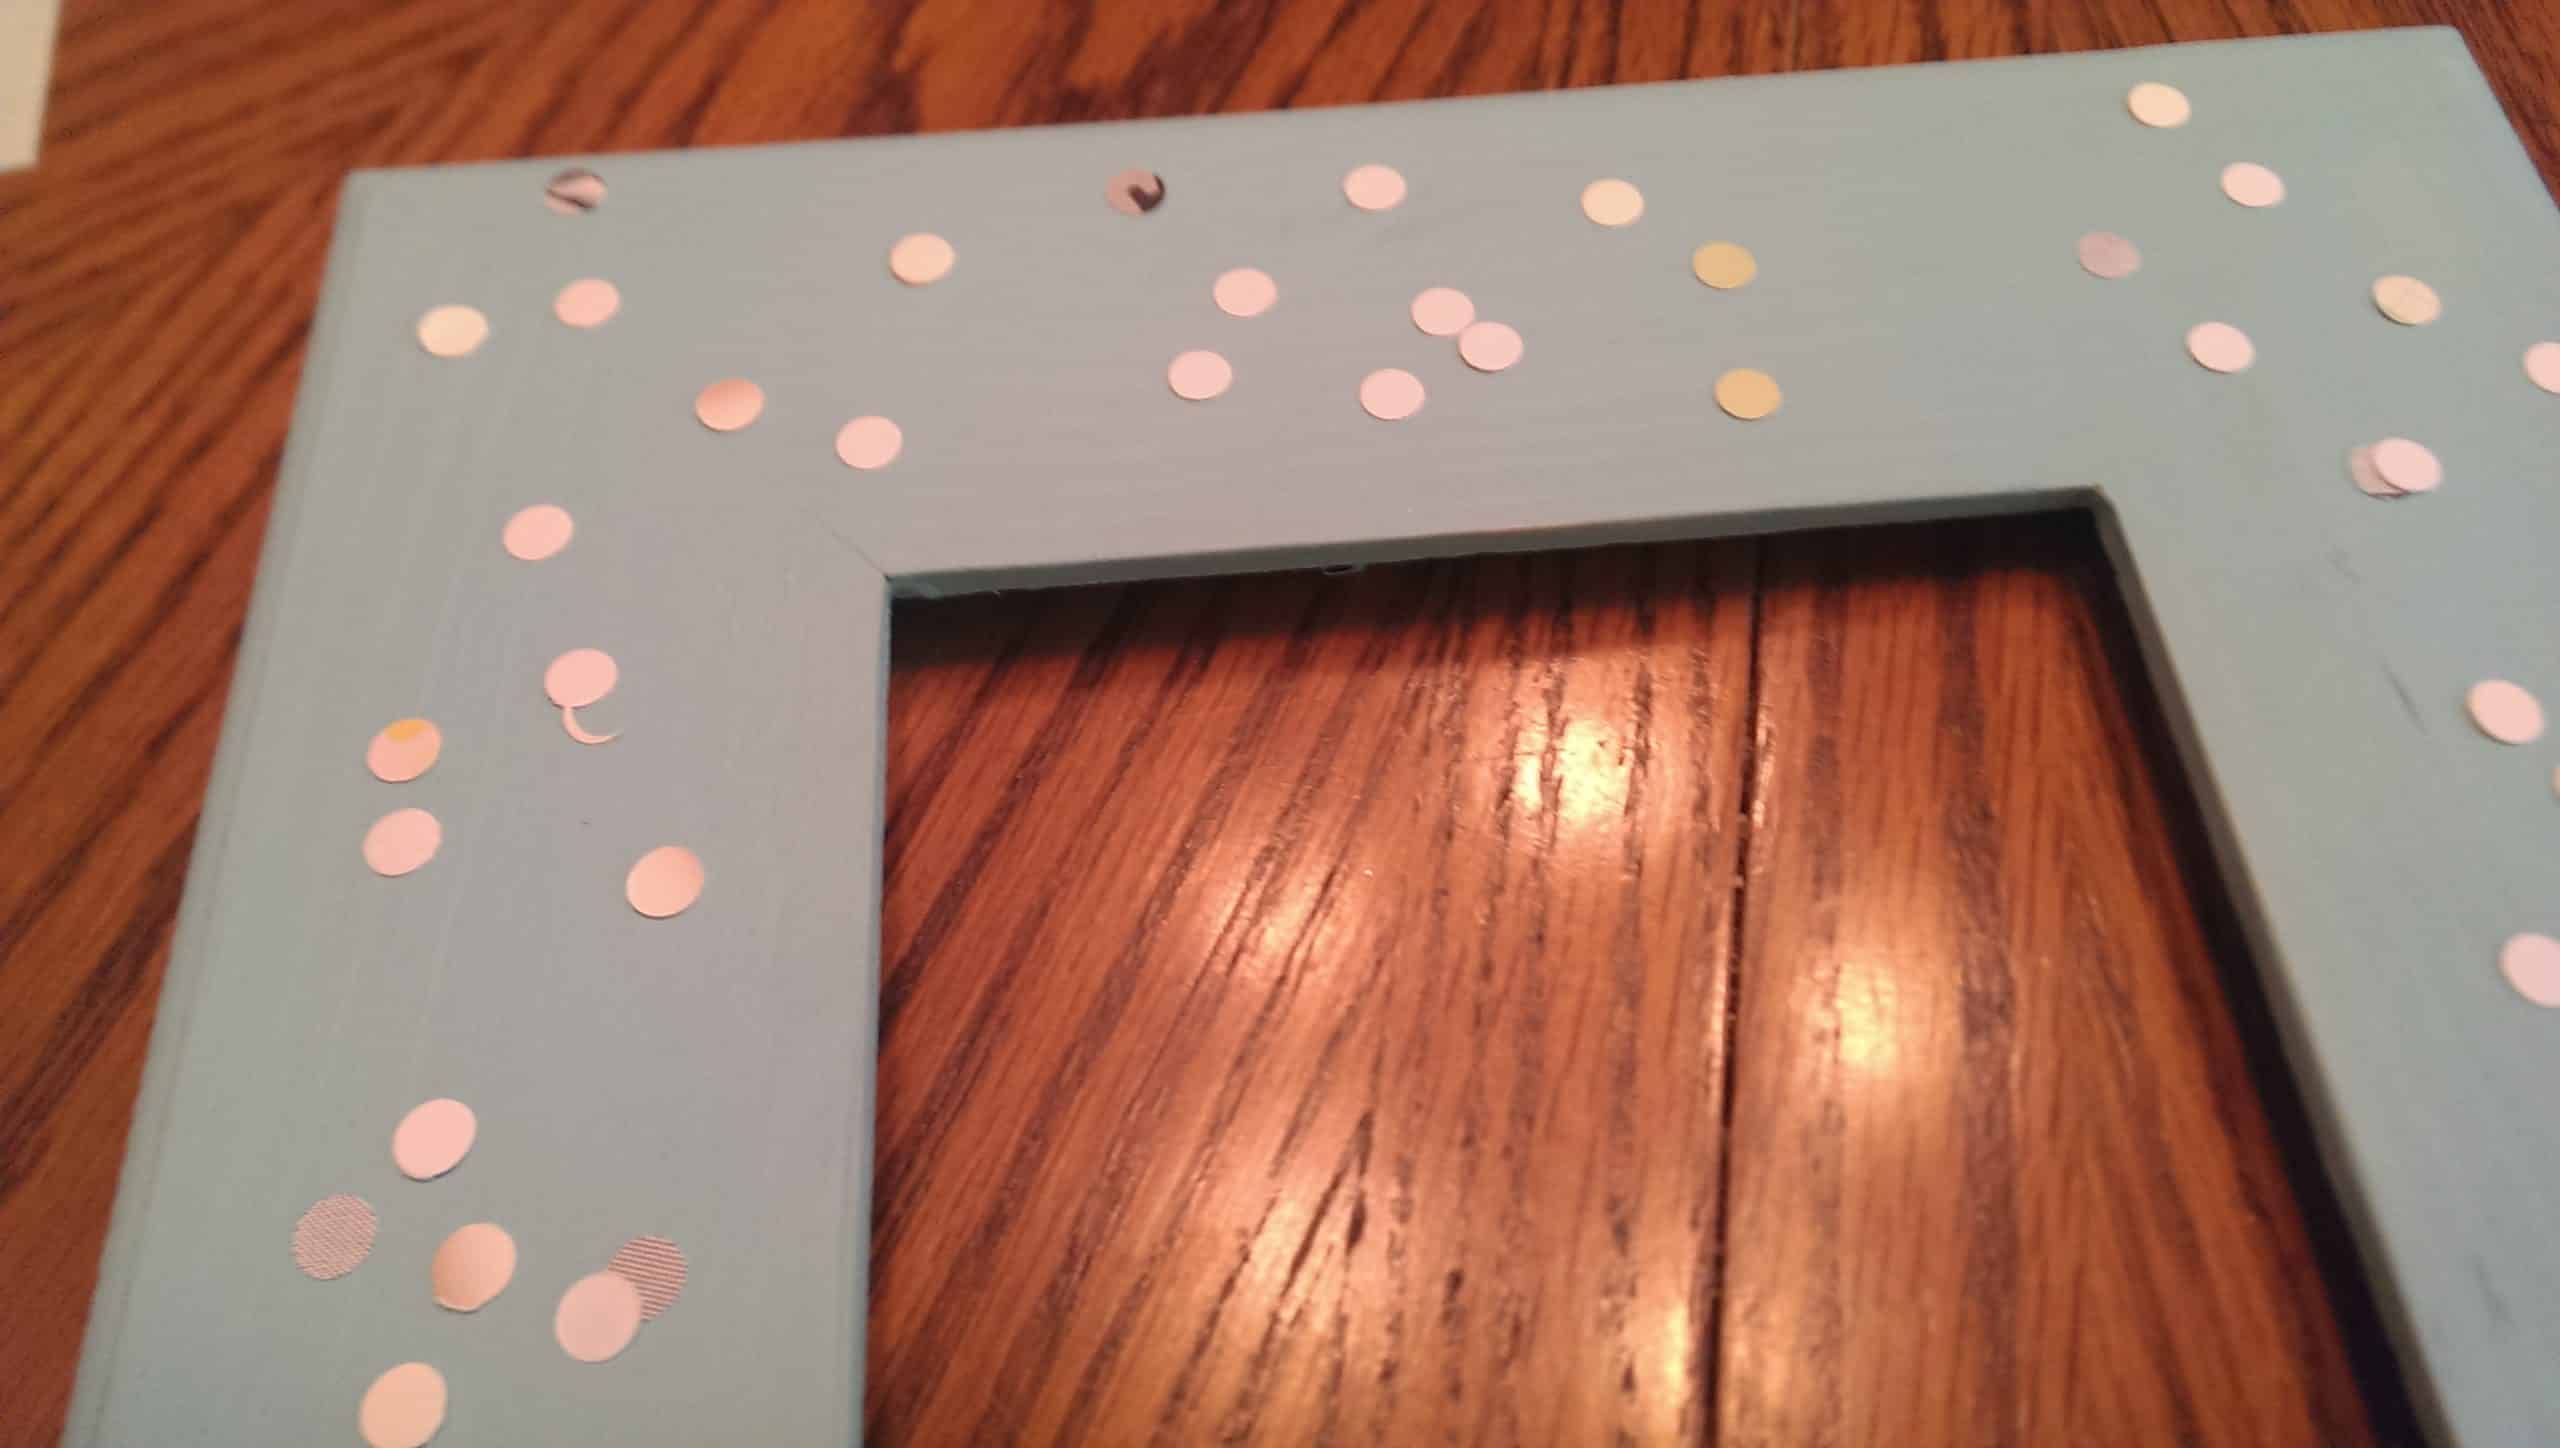
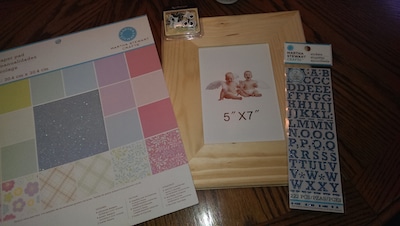
Be creative and look through all the materials available in the Martha Stewart Collection in the store. You’ll have extras but we’ll use those in future projects! You can define your own style by using different colors and size punch outs.
For your last step, use Martha Stewart Decoupage and apply to the circles you punched out by using a soft bristle brush. Using the decoupage, paint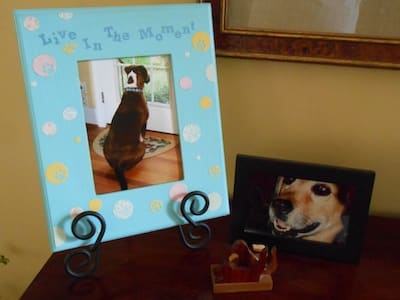
Now just find that wonderful picture of your furry canine and display it on your desk at work or in your home. Our Molly sets proudly in our family room where everyone can greet her when the enter the room.
Let us know if you have any questions or other ideas to make this unique to your pet! Til next month – Molly!


