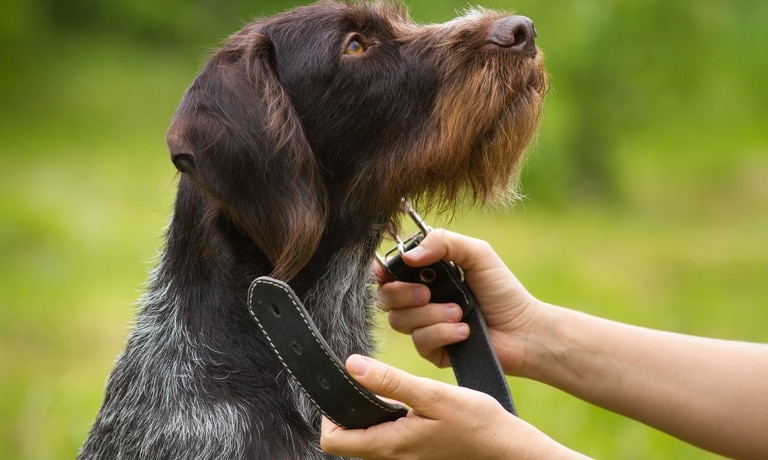
A collar is as much a safety accessory as it is a fashion statement for your pet. It helps your furry friend carry around important contact and vaccination information, making them look great in the process. If the collars you see at your pet store just aren’t cutting it, you don’t have to settle. Read on to learn how to make a custom collar for your pet!
Step 1: Prep Your Supplies
Your first step is to round up everything you’ll need to make the collar. Focus on these supplies:
- tough fabric or webbing
- buckle or another type of closure
- adjustable slider
- metal D-ring
- thread
- sewing needles and machine
The collar material should be wide enough for comfort but sturdy enough for pulling. The thread should match the color of the collar fabric if you want this aesthetic consistency, but you can also choose a contrasting color to add some funk. Finally, though you can do this project by hand, a sewing machine makes it a lot easier, especially for stitching together stiff webbing. Make sure you maintain your sewing machine so it can effectively complete each task for this project!
Step 2: Take Measurements
The collar must be small enough to not fall off but large enough to not choke or chafe your pet’s neck. Use a fabric tape measure to gauge the circumference of your pet’s neck, leaving enough room for two fingers to slide under the collar. Add an inch or two to accommodate the buckle and adjustment slider.
Step 3: Assemble the Collar
First, cut your fabric to the desired width and length based on the measurements you’ve taken. If you want extra durability, fold and sew it to double the thickness. Again, a sewing machine makes this task much easier.
Next, attach hardware by sliding in the buckle and D-ring then sewing them in place. Triple-check that your stitching is strong enough to handle your pet’s tugging.
Finally, add personal touches! Embroider your pet’s name or stitch on cute patterns to make the collar truly unique. Many people like to secure a bandana to the collar.
Step 4: Test and Adjust
Once your collar is complete, try it on your pet. Make any necessary adjustments to ensure a snug, comfortable fit. Double-check that the D-ring can securely hold a tag or leash.
Making your pet a custom collar is easy, fun, and packed with benefits. You get to pamper them with something handmade while ensuring they always carry a piece of your love wherever they go. So what are you waiting for? Grab your supplies and start crafting today!


